
July Basket by Cosford Rise Stitchery
A surprise Etsy find, a stitching holiday in Jamaica, and my very first proper attempt at a finishing project, complete with glue, crushed walnuts everywhere, and more rookie errors than I care to count.
A surprise Etsy find, a stitching holiday in Jamaica, and my very first proper attempt at a finishing project, complete with glue, crushed walnuts everywhere, and more rookie errors than I care to count.
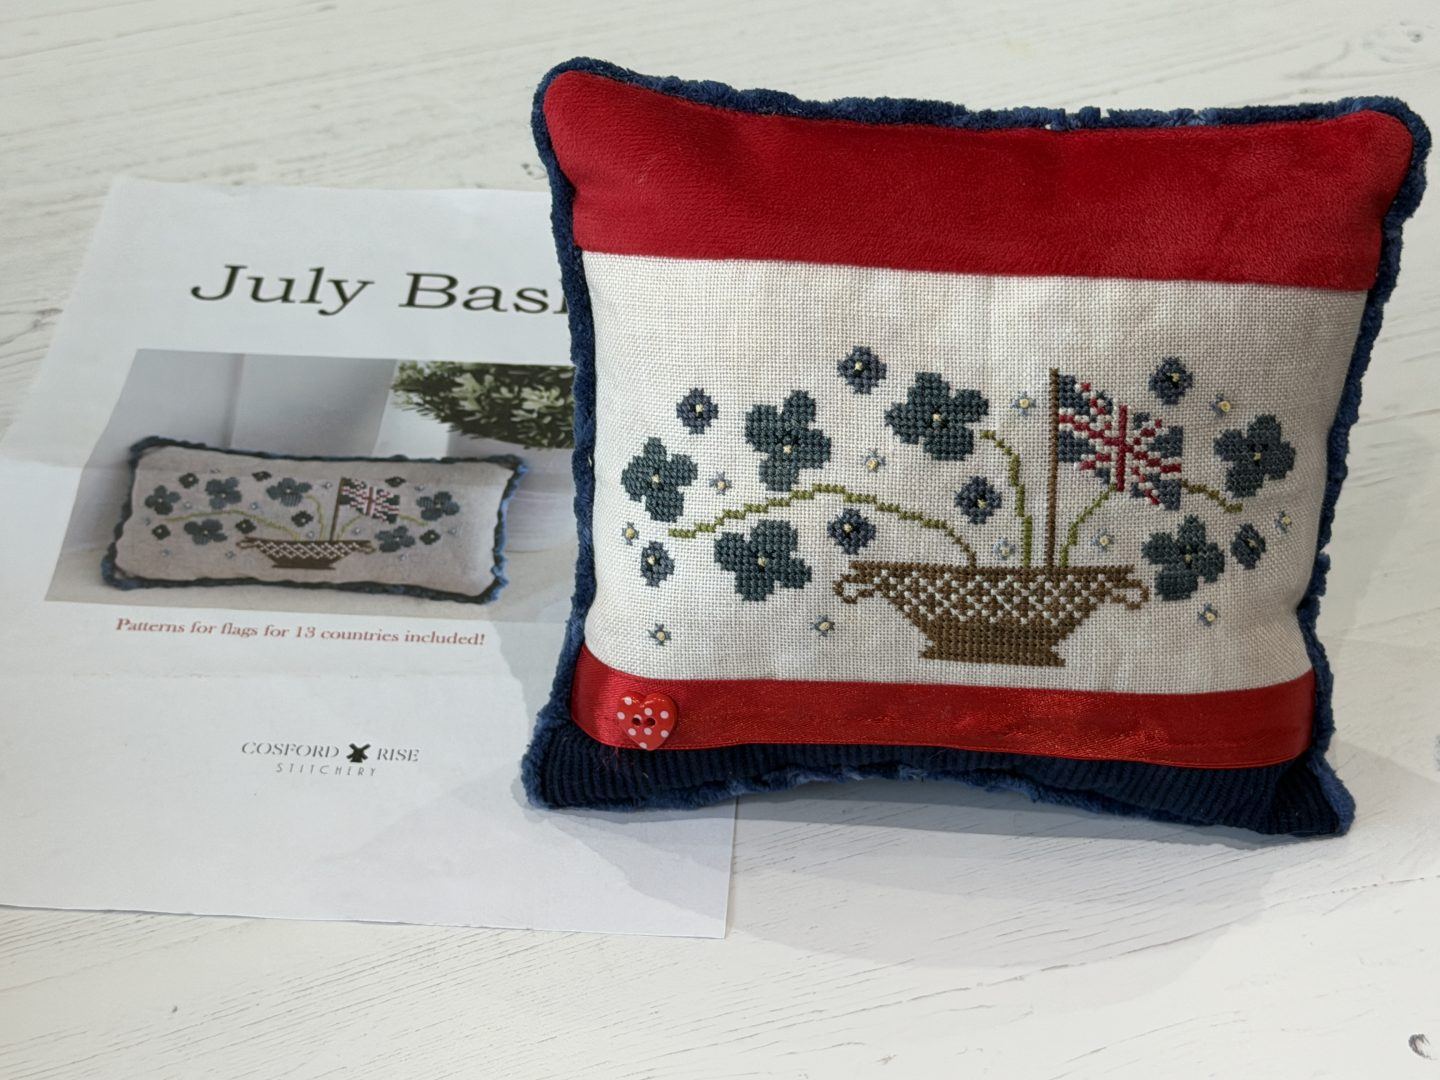
I stumbled across July Basket by Cosford Rise Stitchery on Etsy, and honestly it was one of those finds that just stops you mid-scroll. The thing that really got me was that the designer had charted in thirteen country flags. Thirteen! I just loved that idea, such a clever little detail tucked into a basket design.
Design: July Basket
Designer: Cosford Rise Stitchery on Etsy
Fabric: 28 cnt Linen in Jan 2025 Club Colour by WGLY
Started: 7 February 2026
Finished: 8 March 2026
FFO’d: 17 August 2026
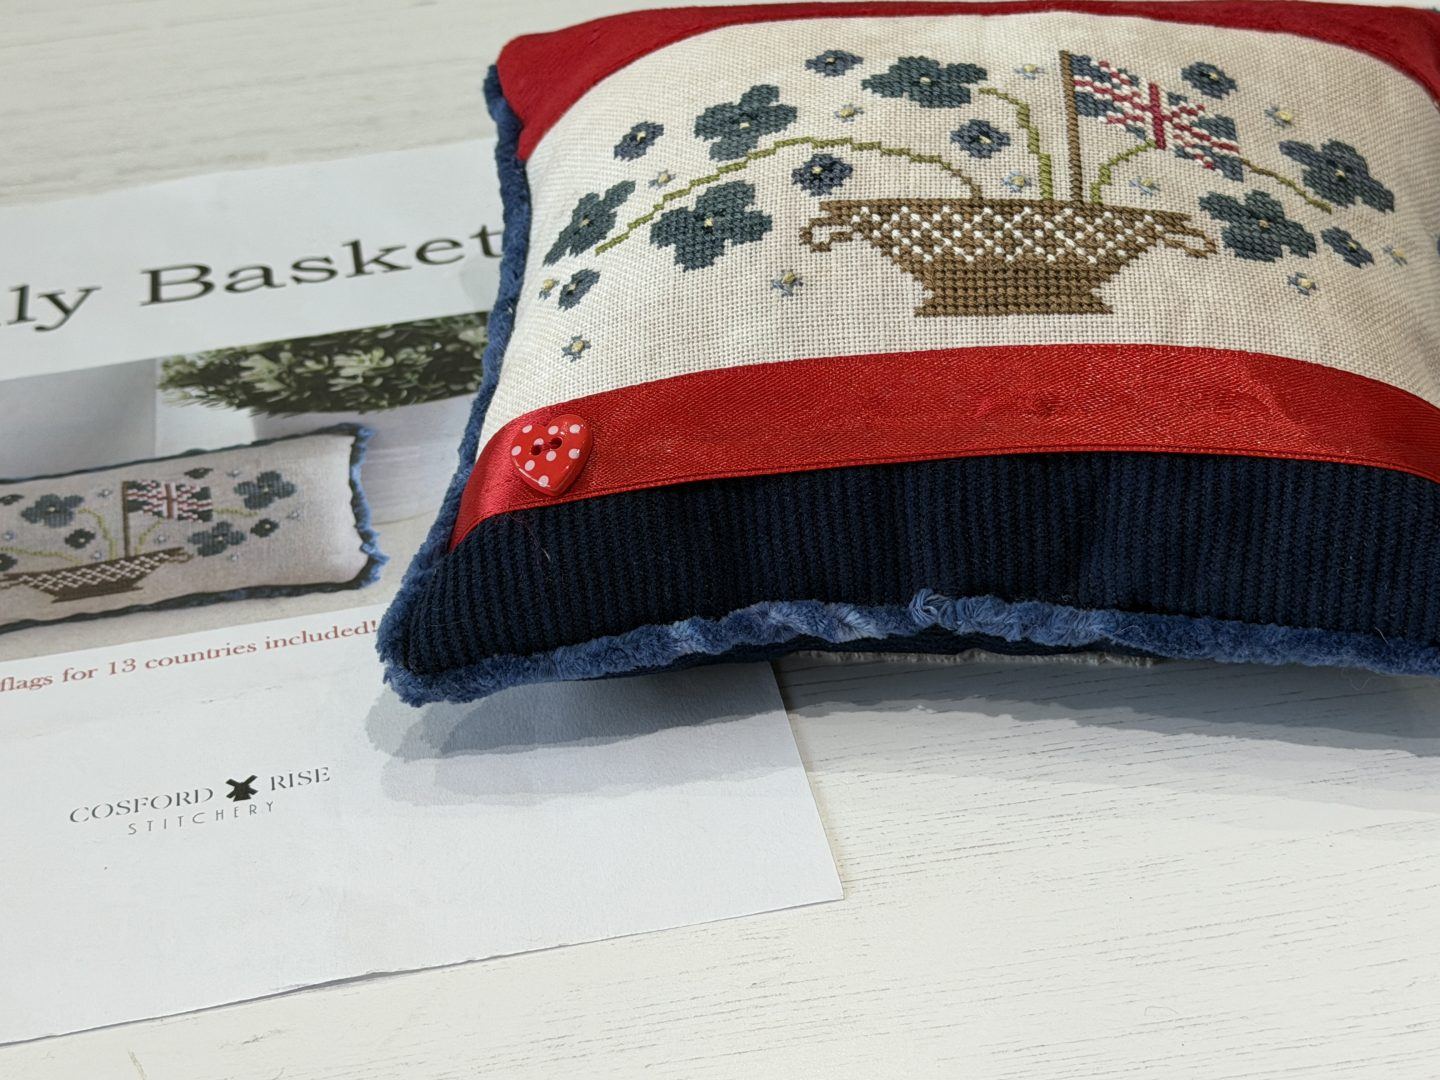
Finish: Cross Stitch Pillow
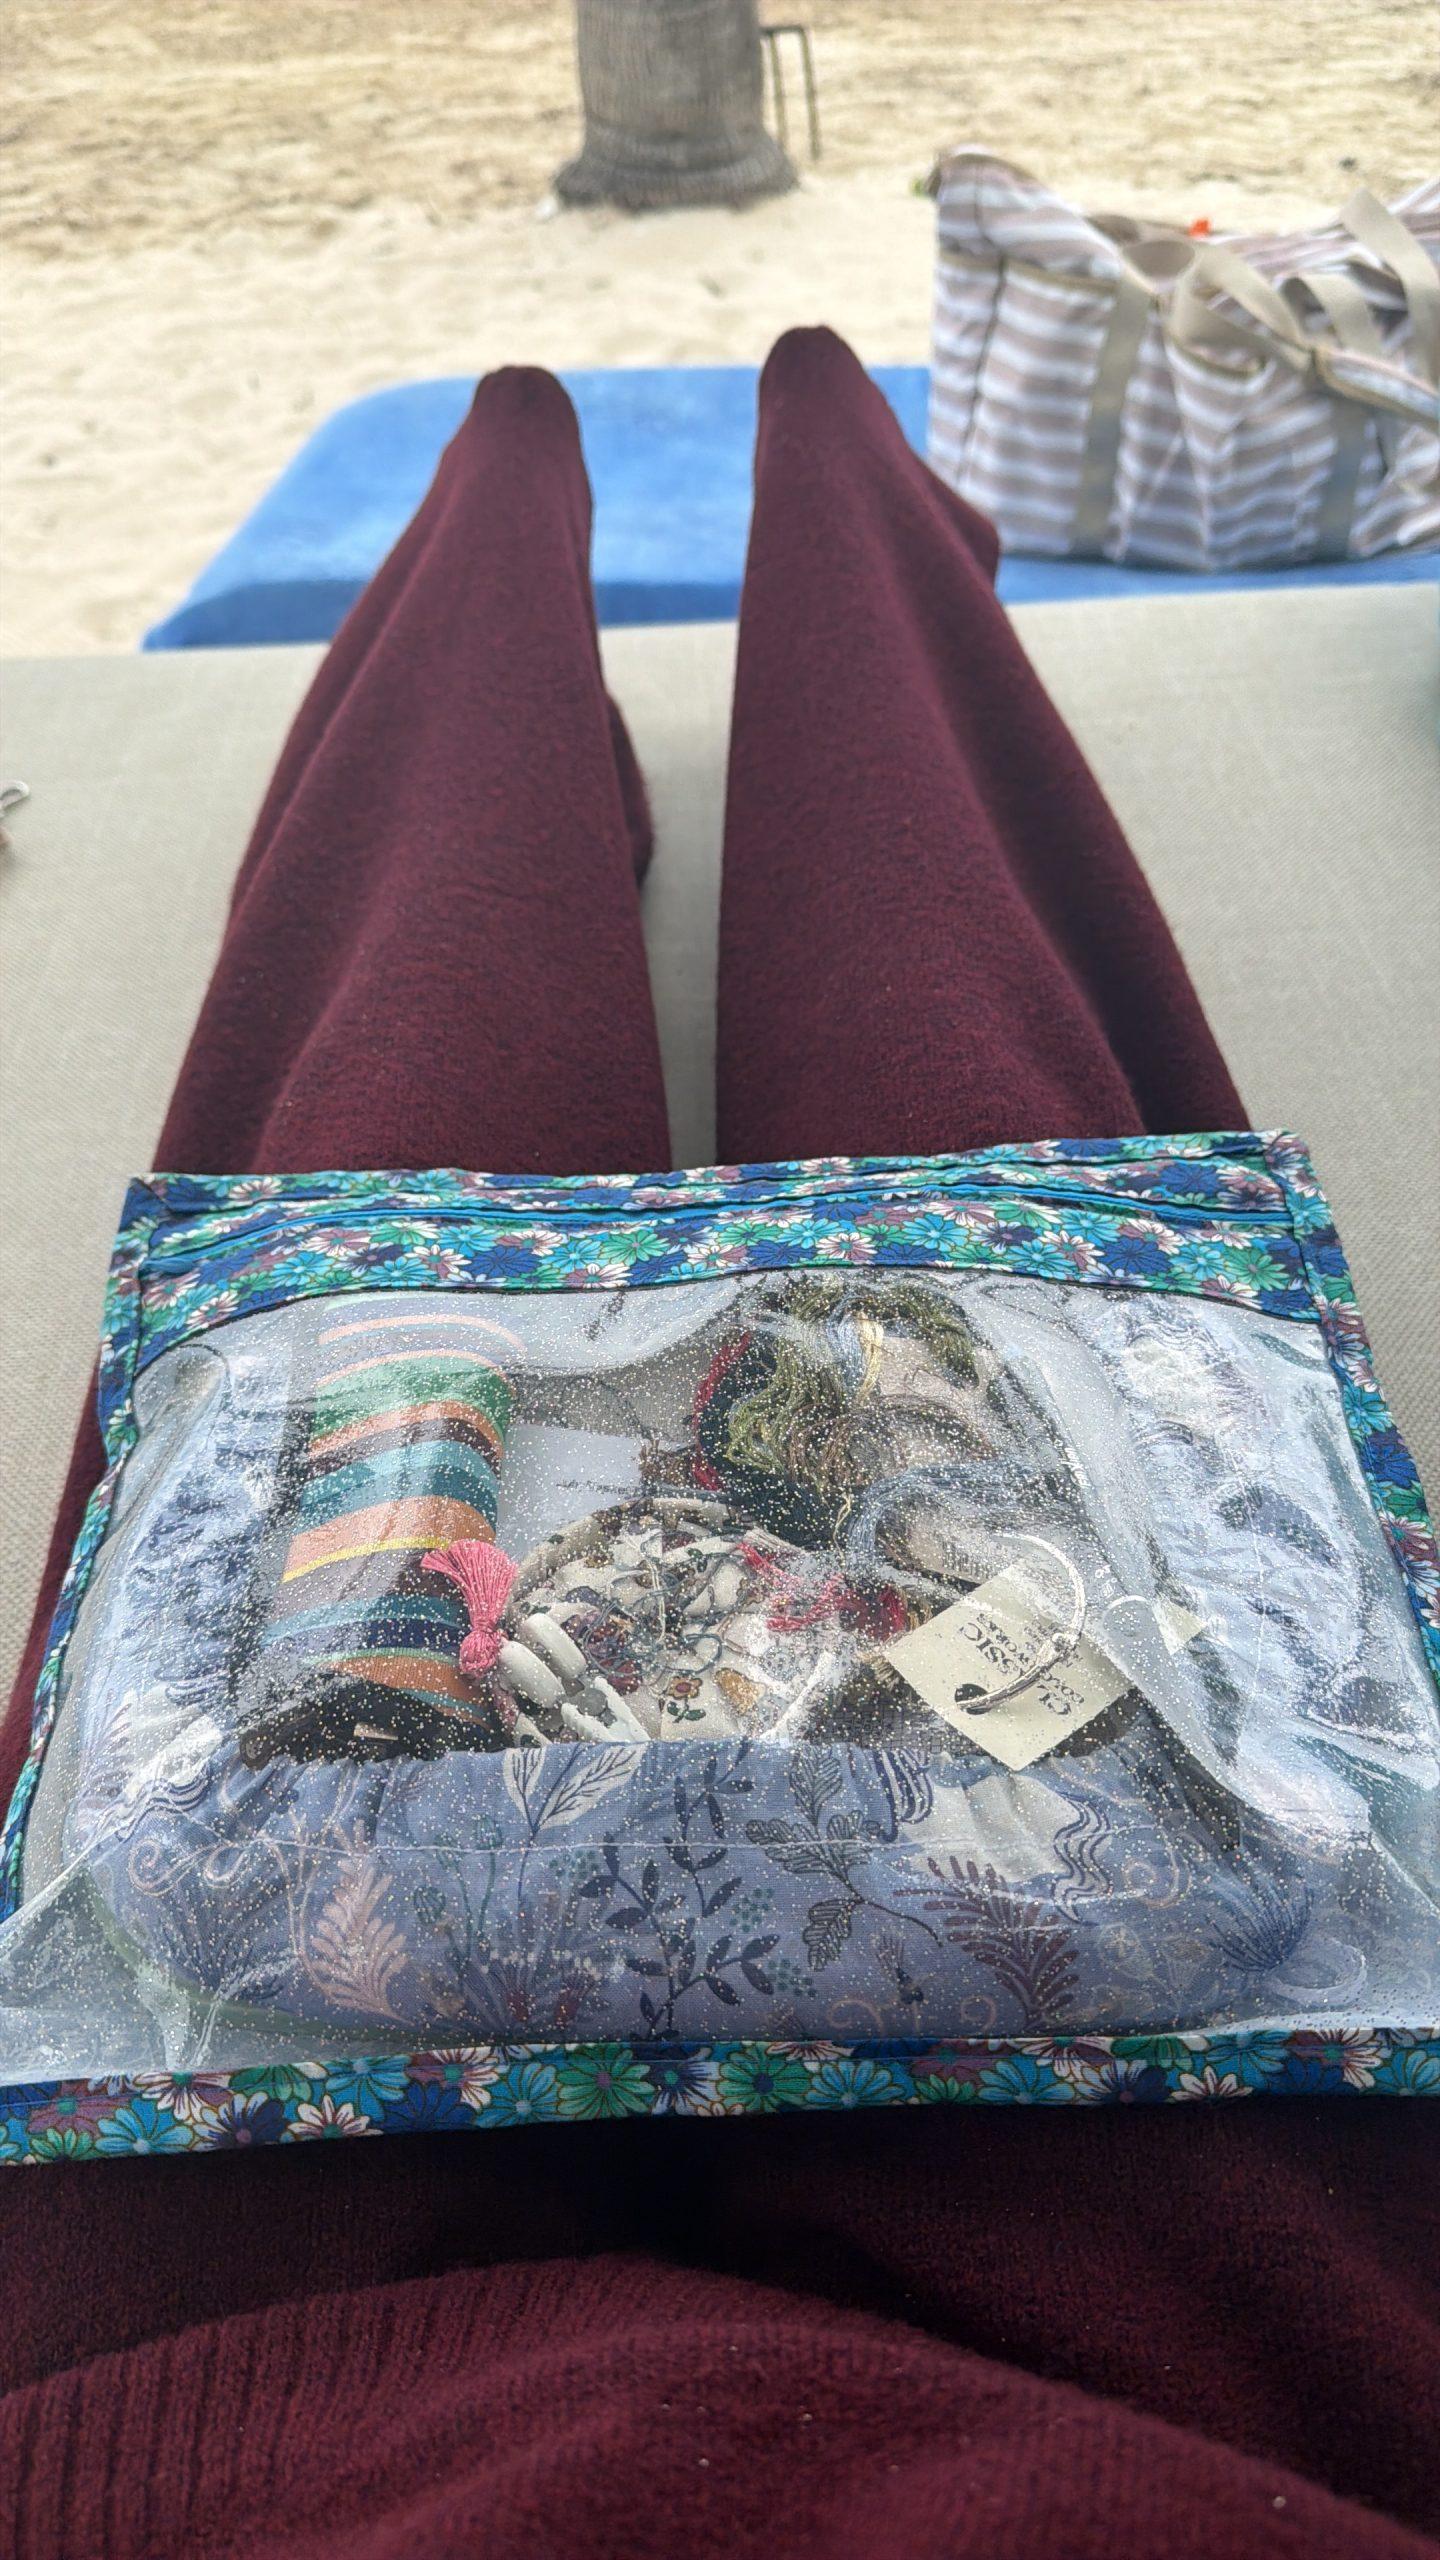
This one has a bit of a story behind it. It started on holiday in Jamaica in February, stitched on a cabana when it got a little cloudy and chilly, and when I was out on the balcony when I wasn’t busy basking in the sunshine. Which is honestly one of my favourite ways to stitch.
The design called for two Weeks Dye Work threads, one Classic Colorworks thread and six Gentle Art threads a lovely little mix. And I’d also picked up some Lady Dots Create chenille trim in the colourway Union to go with it, because I already knew I wanted the finish to feel a bit special.
The stitching itself was a straightforward, enjoyable one. Nothing too testing — except for the french knots, which I’ll be honest with you, are not my strong point. But it has a few in the design, so it gave me a bit more practise, which is never a bad thing.
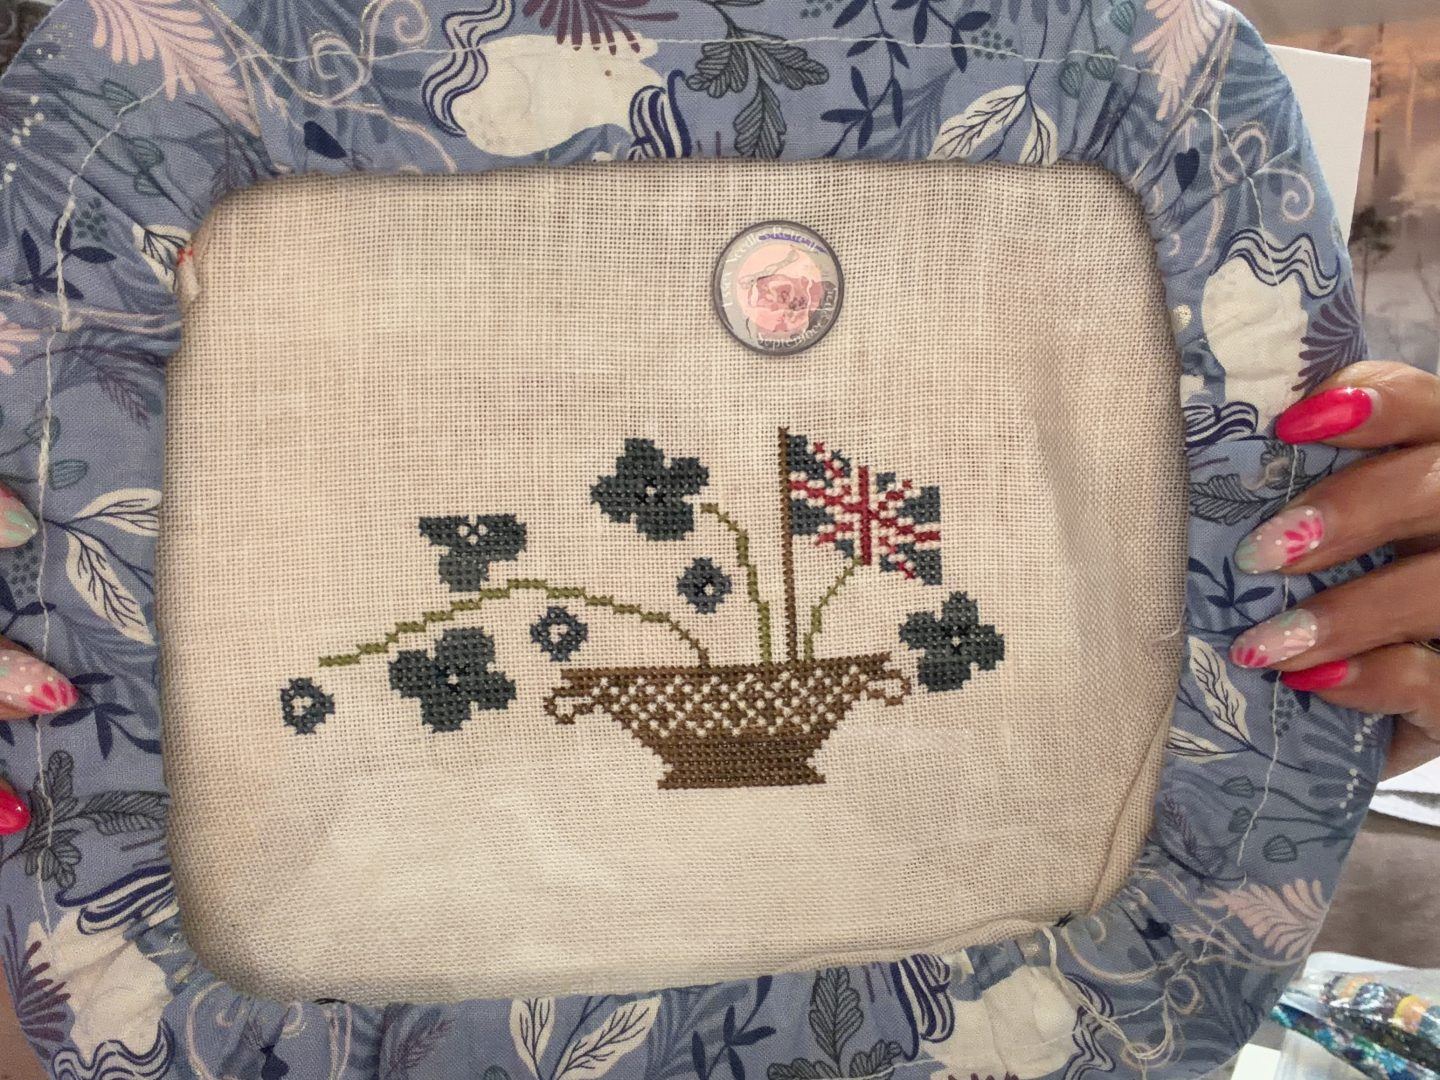
The design is quite long and thin, 95 stitches wide by 42 stitches high, and the designer’s own finish shows the chenille trim simply around the outside. I knew from the start that I wanted something a little more substantial, particularly as I wanted it to sit in a dough bowl and needed a bit more height to it.
So I turned to ChatGPT. I showed it the design, the designer’s own finished photo, and pulled out everything in my stash that might go with it, fabrics, ribbon, buttons and just let it get on with suggesting ideas. I loved what it came up with. A proper little concept for a pillow that felt really cohesive.
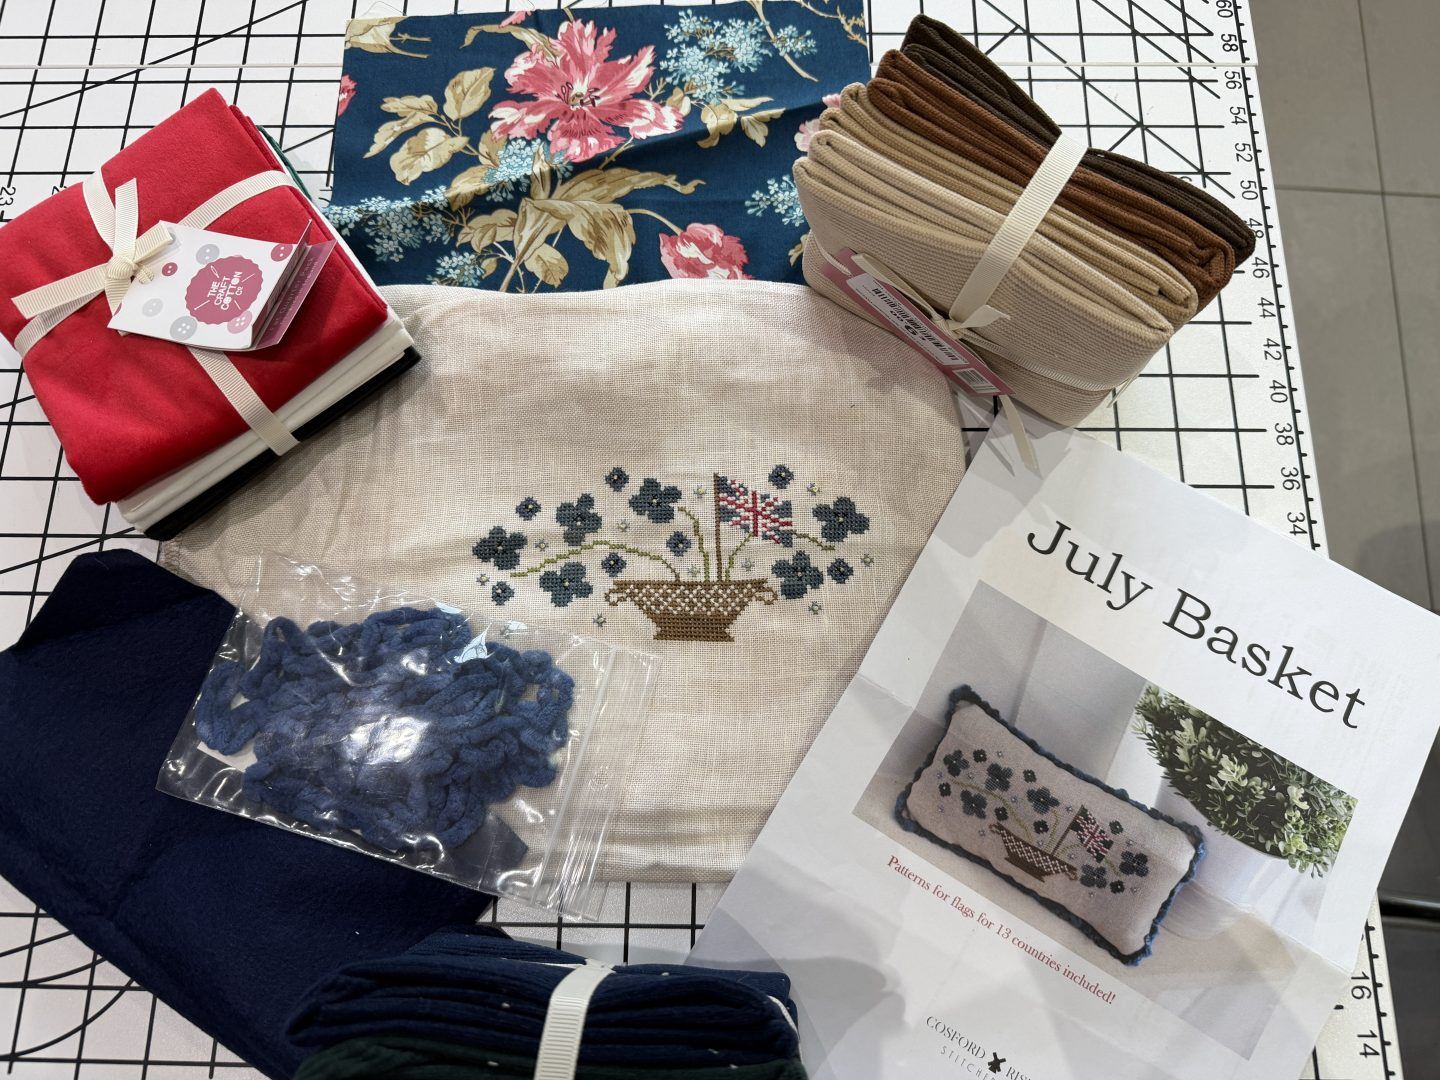
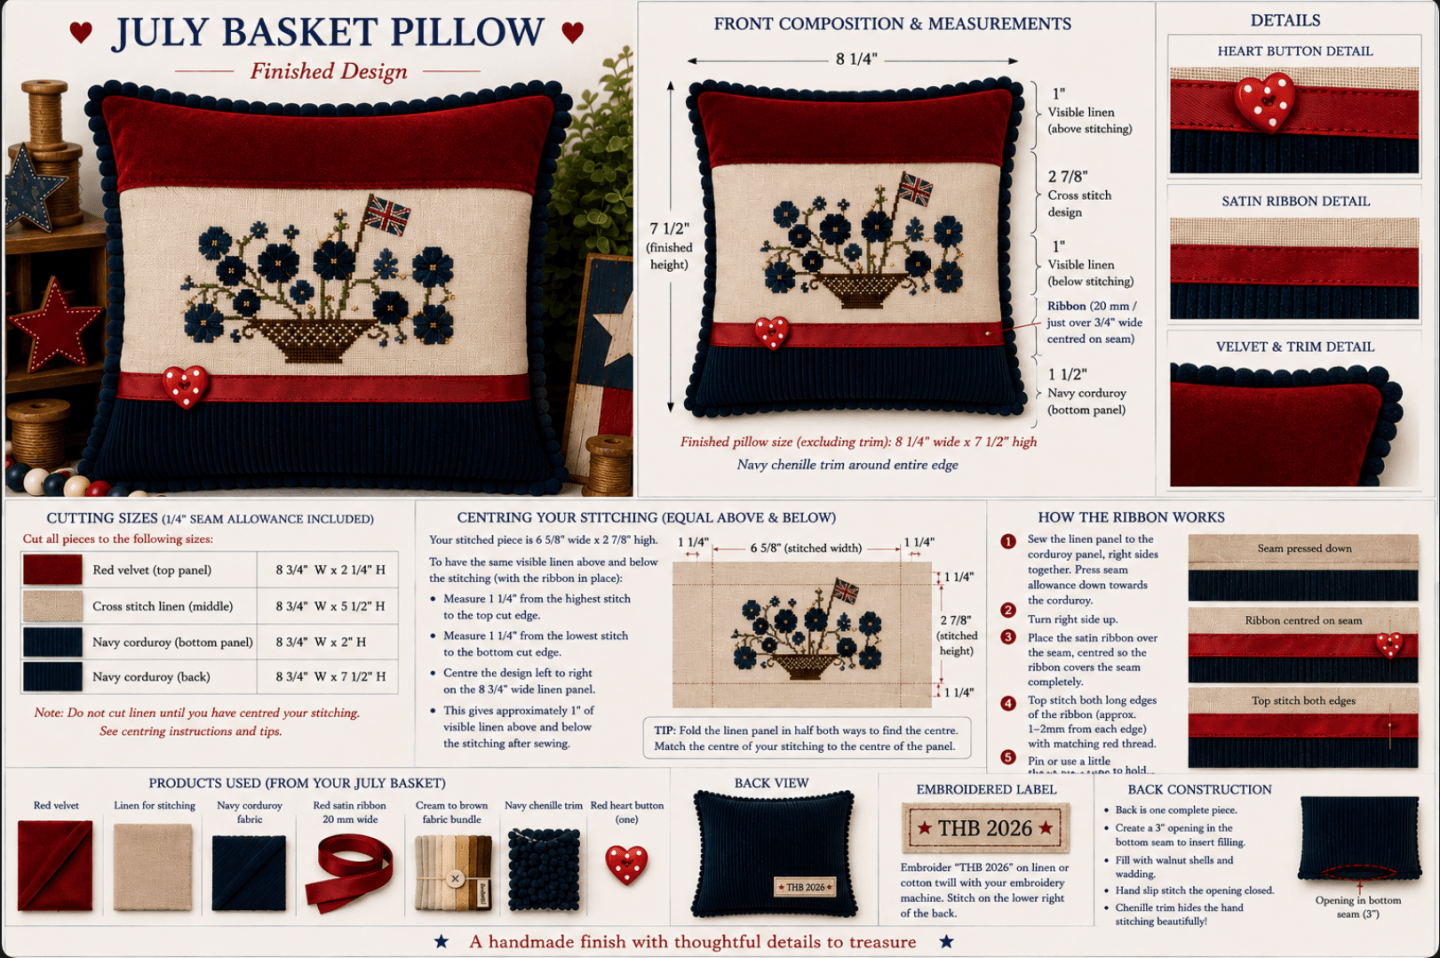
And then the fun began.
I’ll be honest with you, this one became a proper marathon. What I thought might take me an hour or so turned into a very long session of problem-solving, restarting and quietly muttering to myself.
First the linen. I had no idea how much it would move once I started cutting it. And I made it worse by not holding the ruler down firmly enough when I used the rotary cutter, which gave me a very uneven cut along the bottom. Getting that squared up again caused me all sorts of bother.
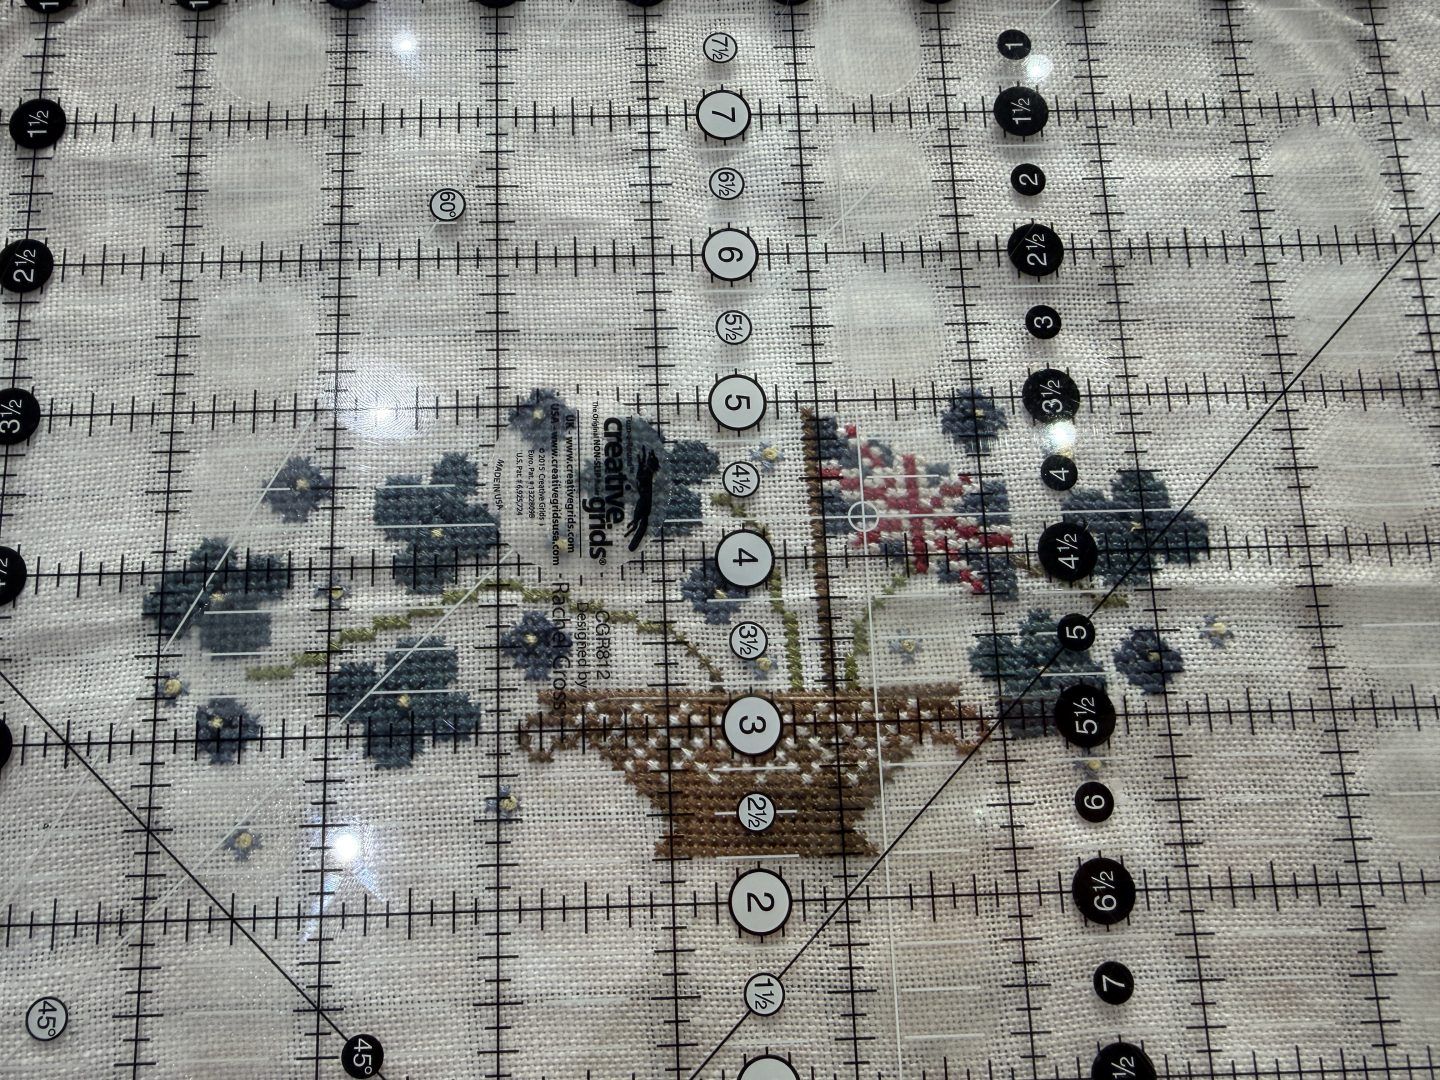
Then I went at it with Terial Magic and Best Press to stiffen things up before adding the SF101 Pellon interfacing. Now, SF101 is a brilliant product, I’d use it again in a heartbeat on aida, evenweave or cotton. But on linen you really do need to press rather than iron, and I ironed. If it goes on wonky, it stays wonky. Lesson learned.
The ribbon was next. I only had satin, and after three attempts at sewing it on — watching it move and stretch every single time — I admitted defeat and reached for the Aleene’s Tacky Glue. Acid-free, before anyone worries.
The red velvet and blue corduroy were actually fine to work with. Until I somehow got glue from the interfacing onto the bottom of my iron, and even with a Teflon sheet in place I still managed to transfer it onto the red velvet. Which meant going back into the stash, cutting another piece, and starting that section again.
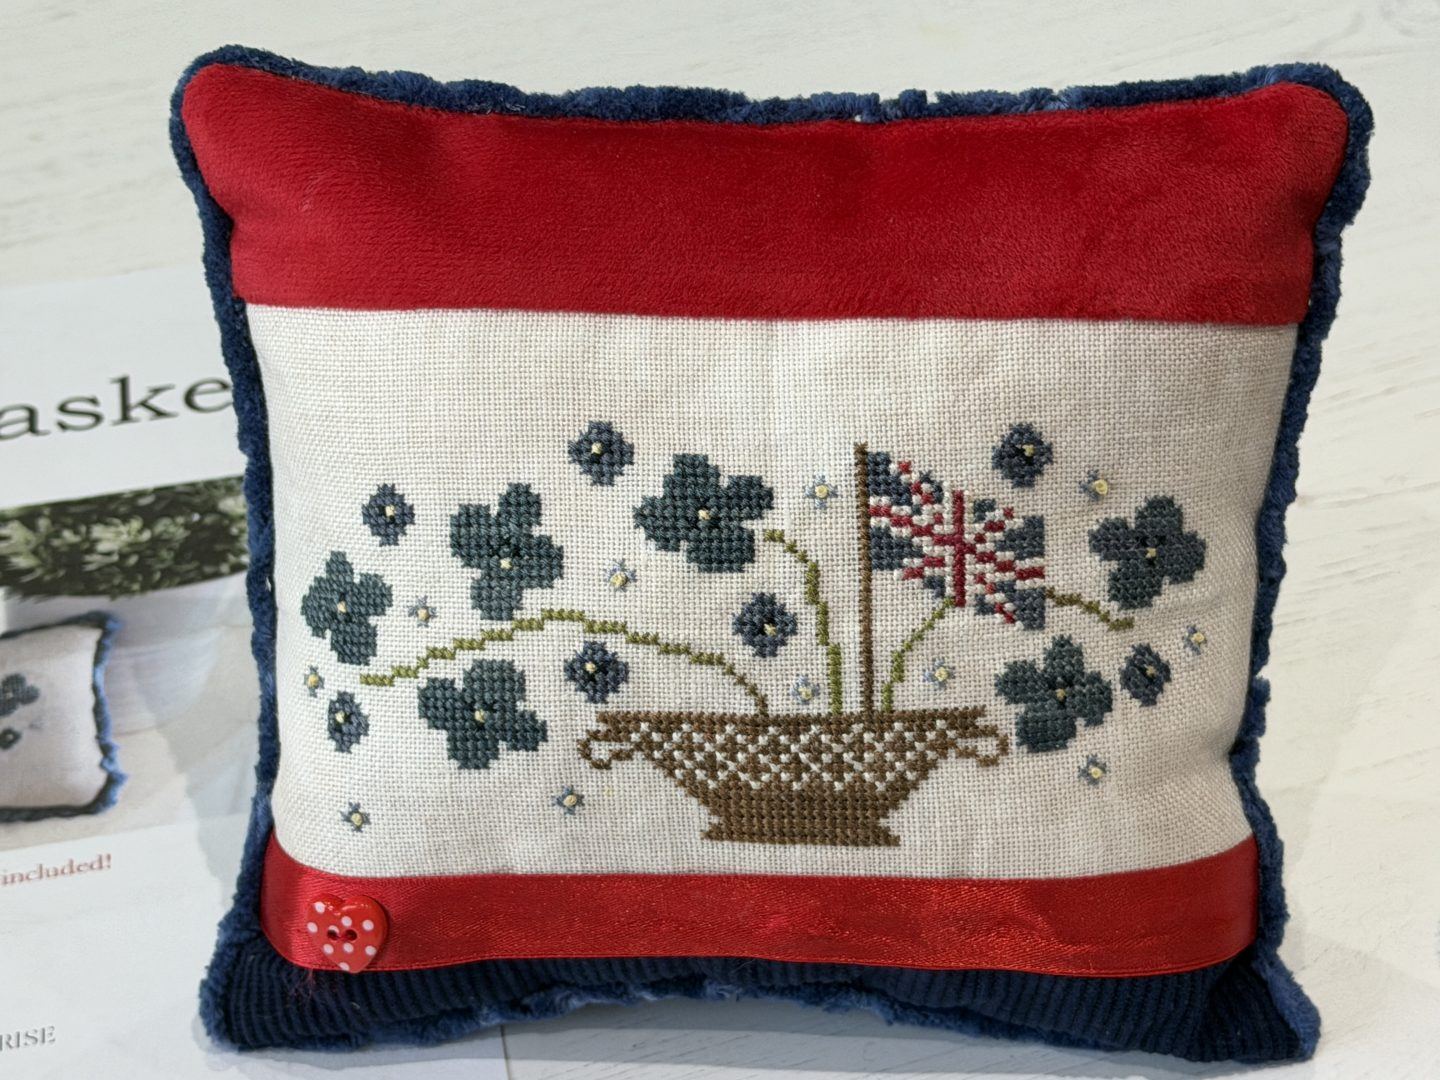
Apparently I like to do things the hard way.
By the time I got to stuffing, I thought I was on the home straight. I used wadding in the corners and then got the funnel out for the crushed walnut filling.
Oh, the crushed walnuts.
It got absolutely everywhere. The dust settled all over the fabric, which nearly finished me off, but thankfully it was already inside the pillow by that point so I just had to brush everything down and carry on. I will say that afterwards I went off in search of an alternative filling, because I am not doing that again in a hurry.
Closing it up with ladder stitch actually went surprisingly well, which felt like a small victory at that point in the day.
And the chenille, I was so done by the time I got to that stage that I just glued it on. Trusty tacky glue. No regrets.
But here is the thing about this pillow, as much as it tested me at every single turn, this is the one where I learnt the most. Use a friction pen to draw margin lines before cutting. Leave the bottom of the stitching on until the front panel is completely finished, then trim it away. Be careful with interfacing because once it is adhered and wonky, that is where it stays. Press linen, don’t iron it. Velvet ribbon would have been far easier than satin.
This was my prototype. My first proper attempt at designing a finish using ChatGPT, at handling completed stitching on linen and it came with every rookie error I could possibly manage to make.
But that is all part of the learning, isn’t it?
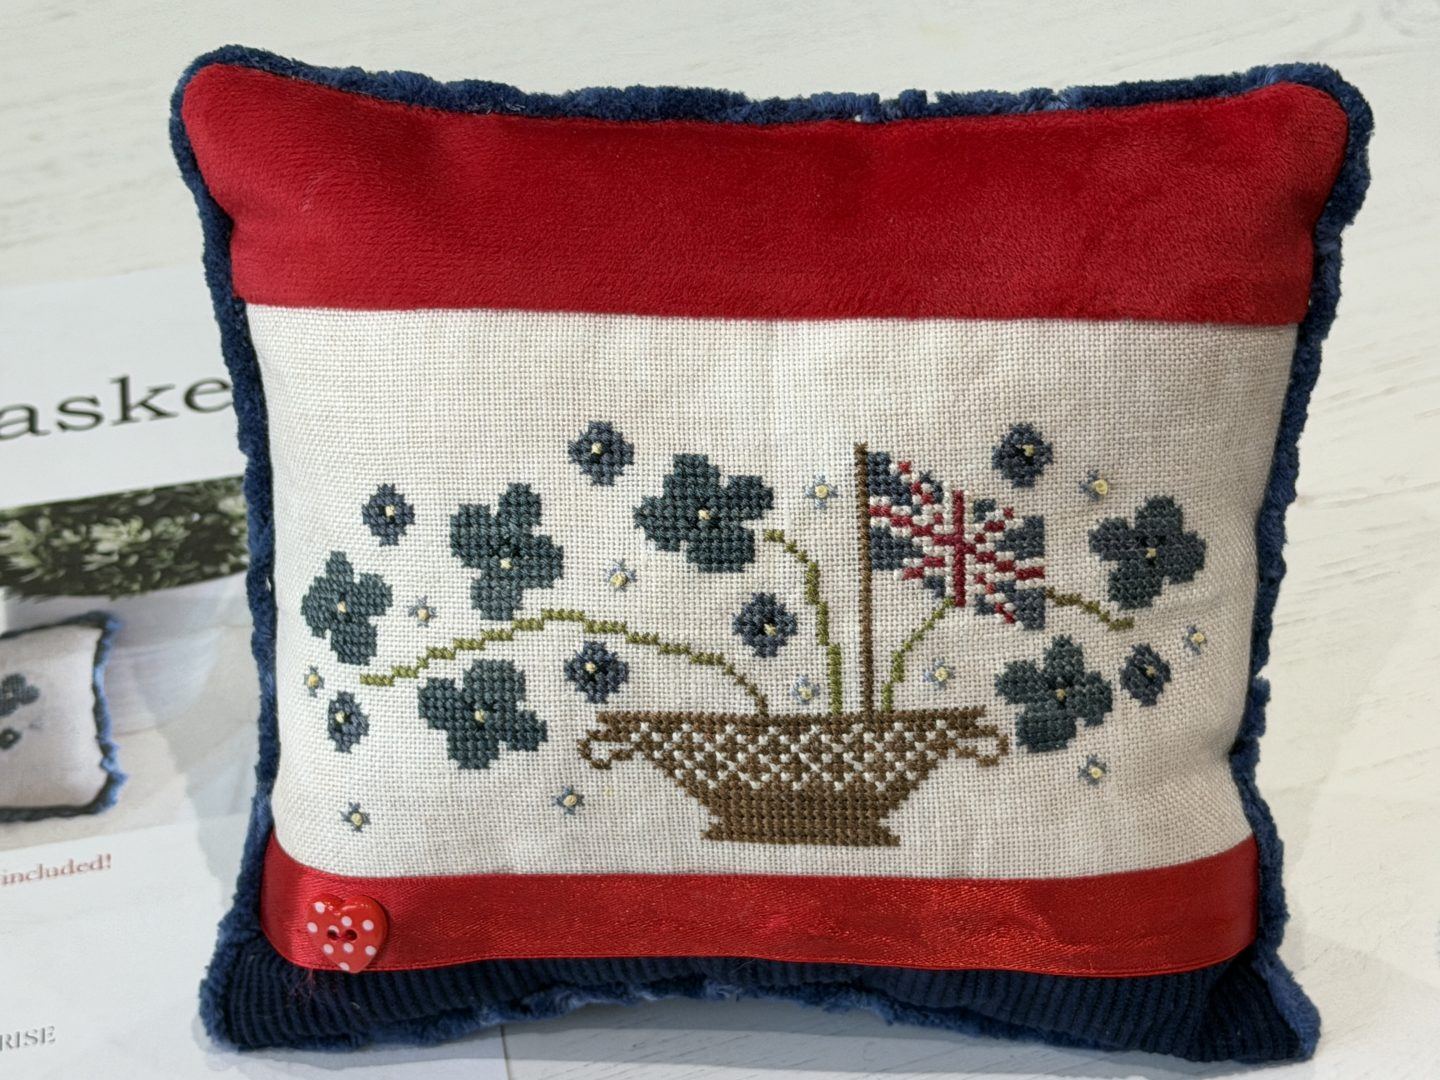
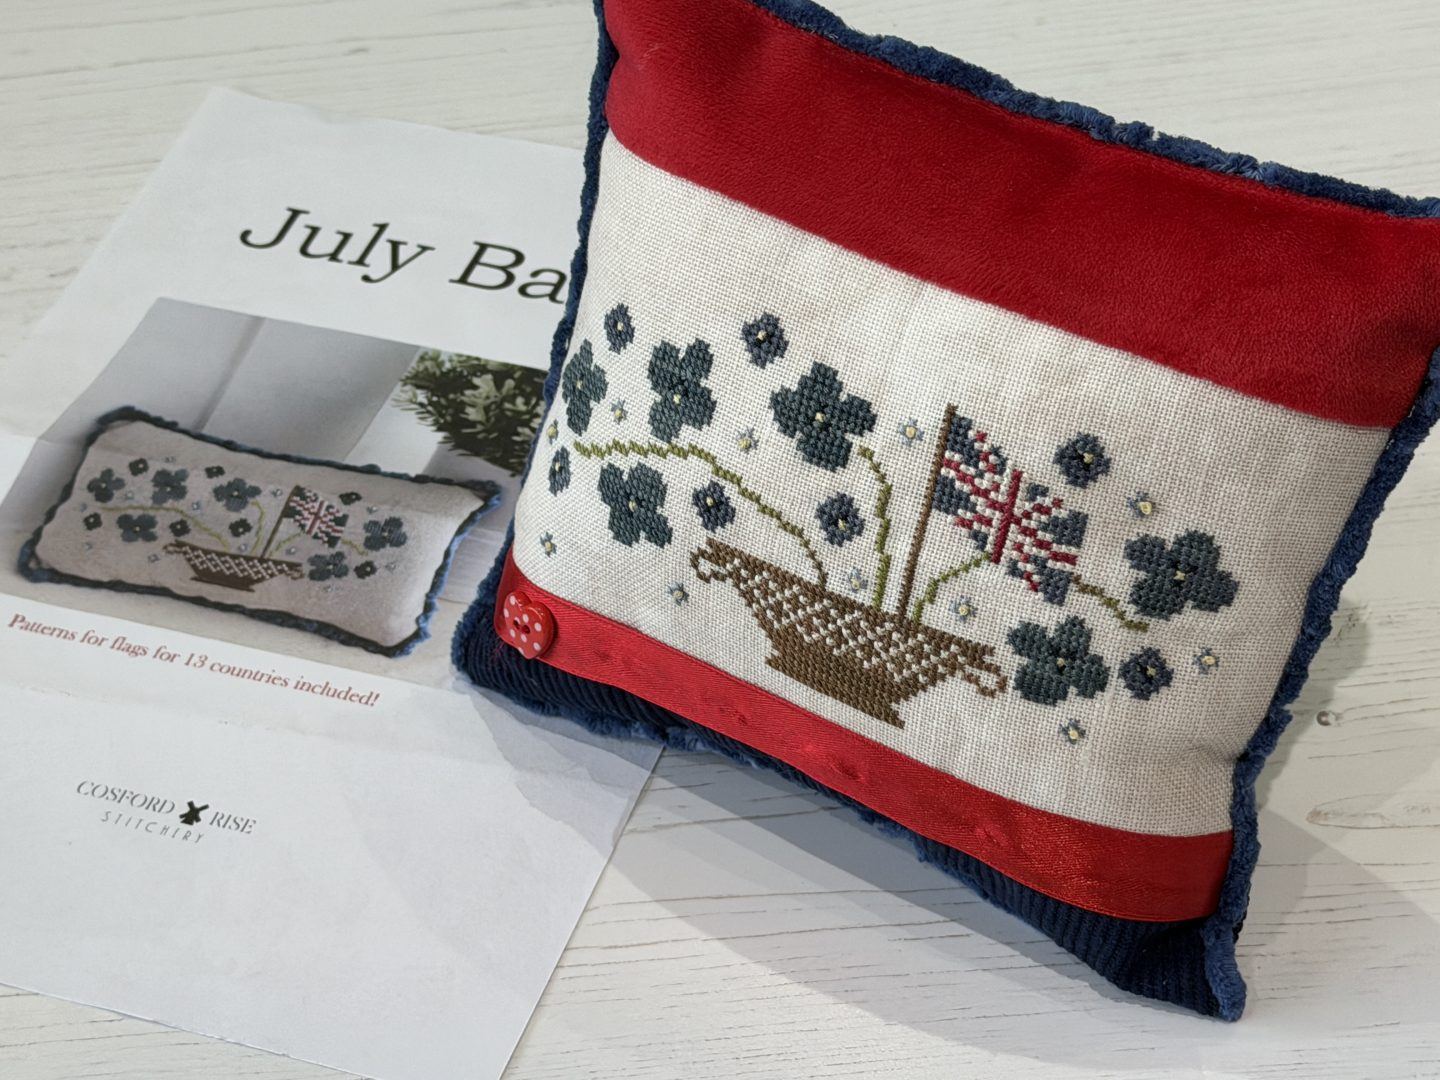
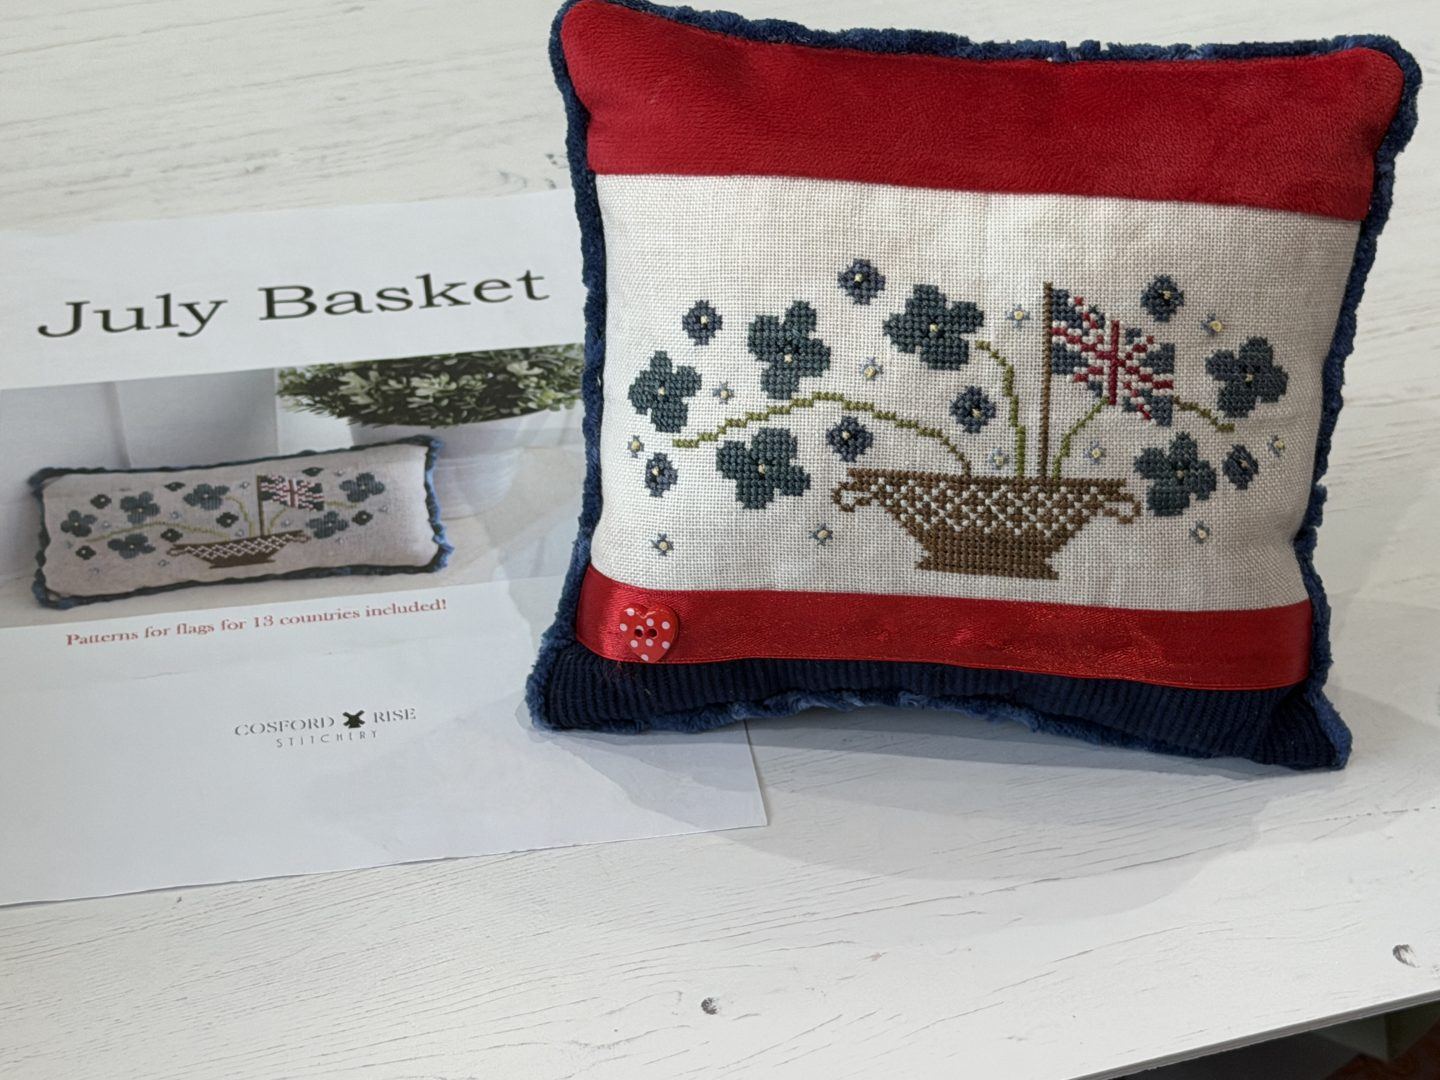
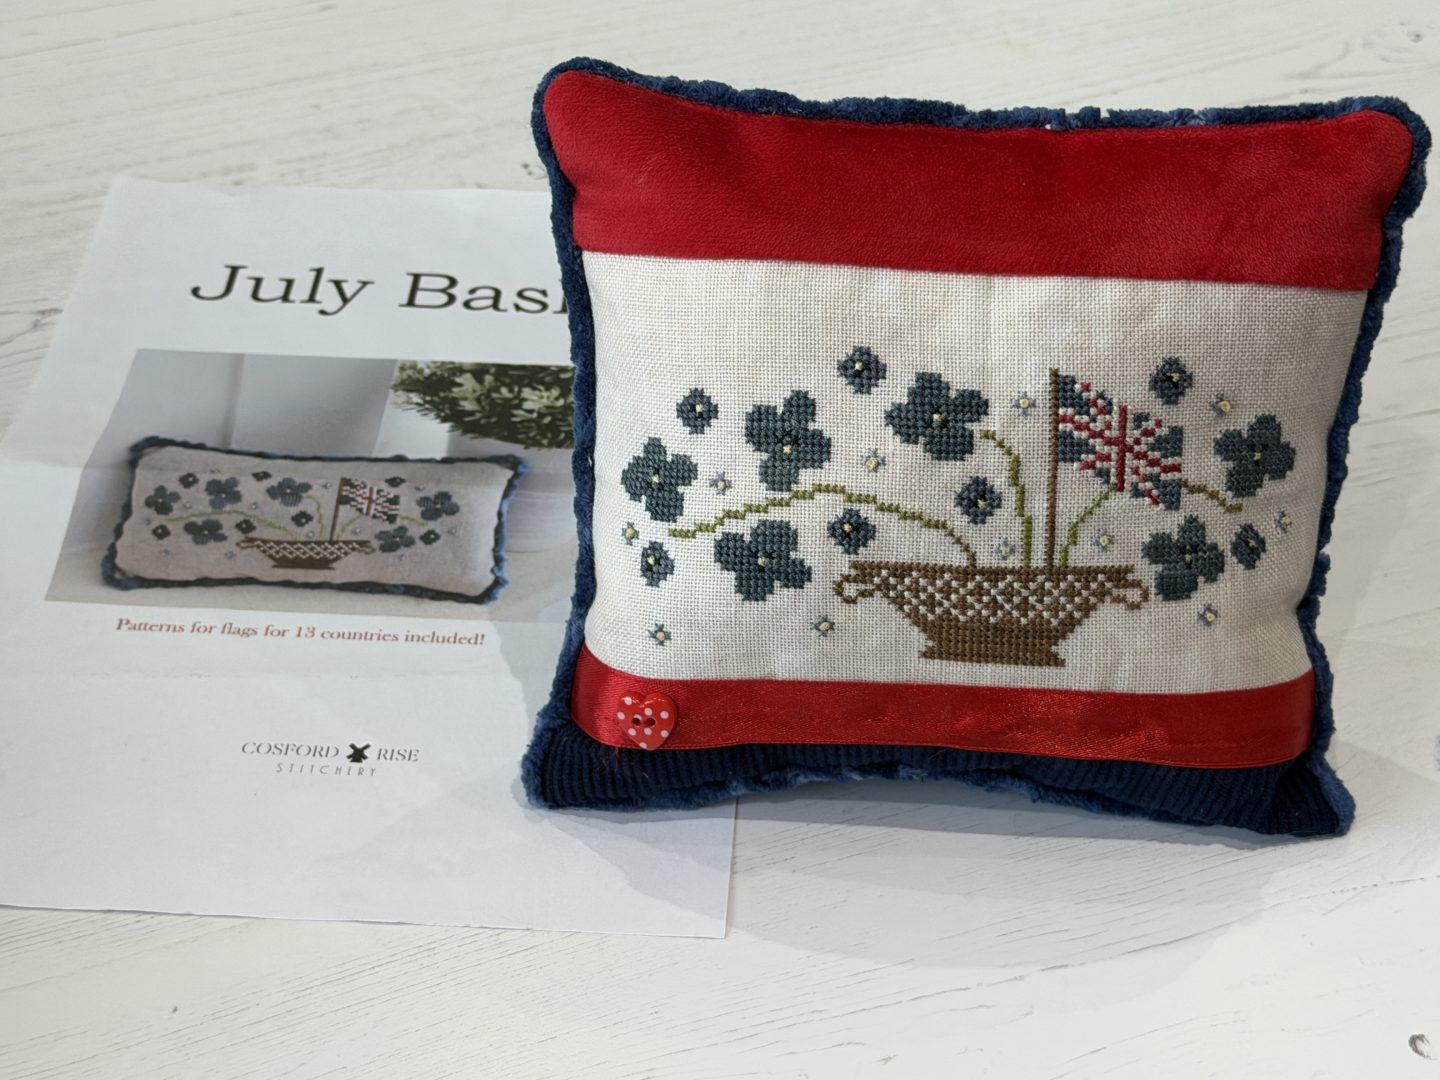
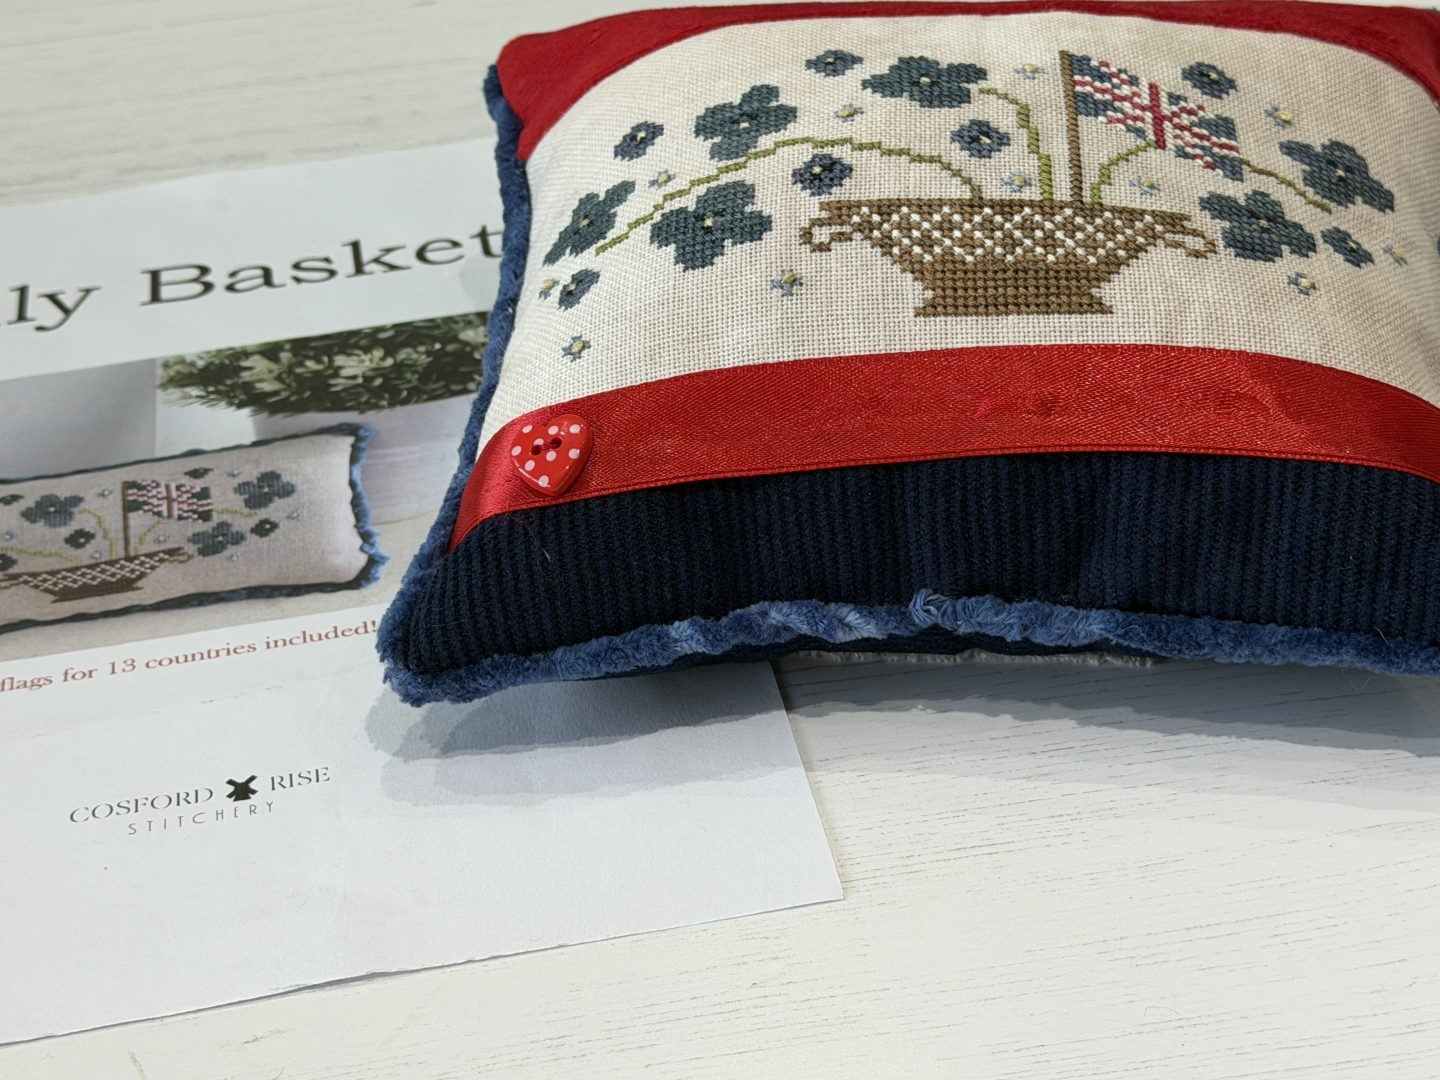
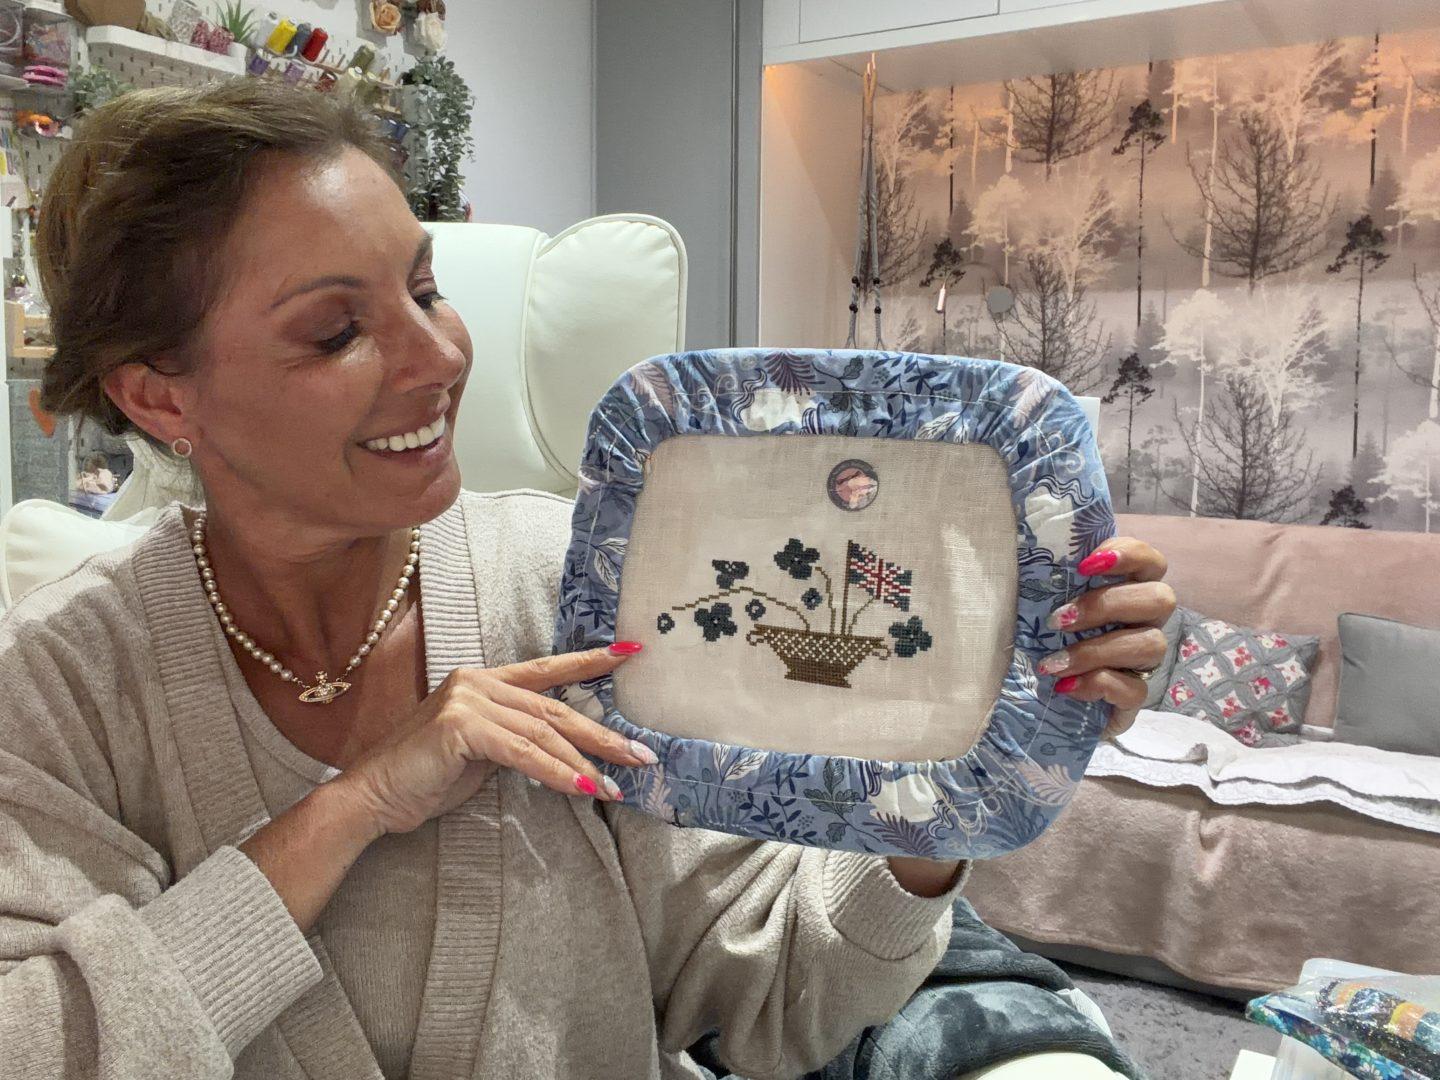
And sitting here looking at it now, I actually feel quite fond of this little cushion. It gave me an enormous amount of grief, and I love it anyway.
Comments are closed.
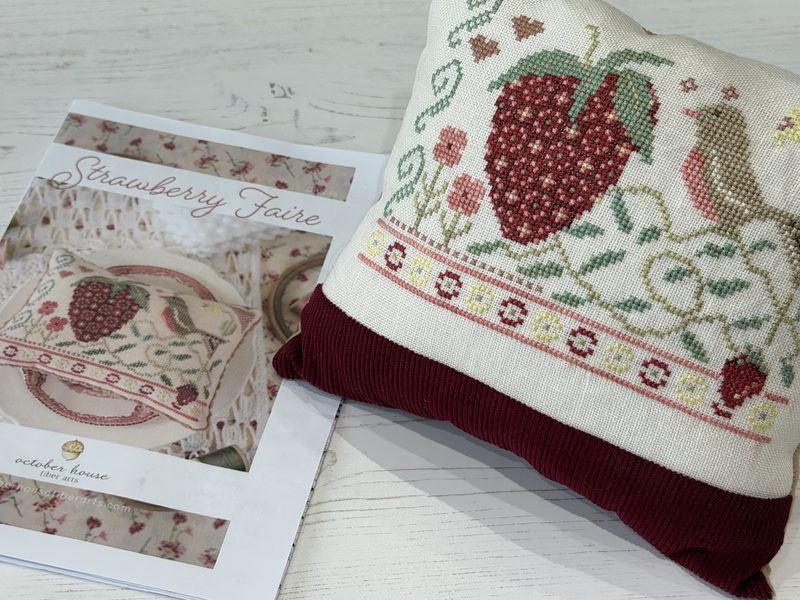
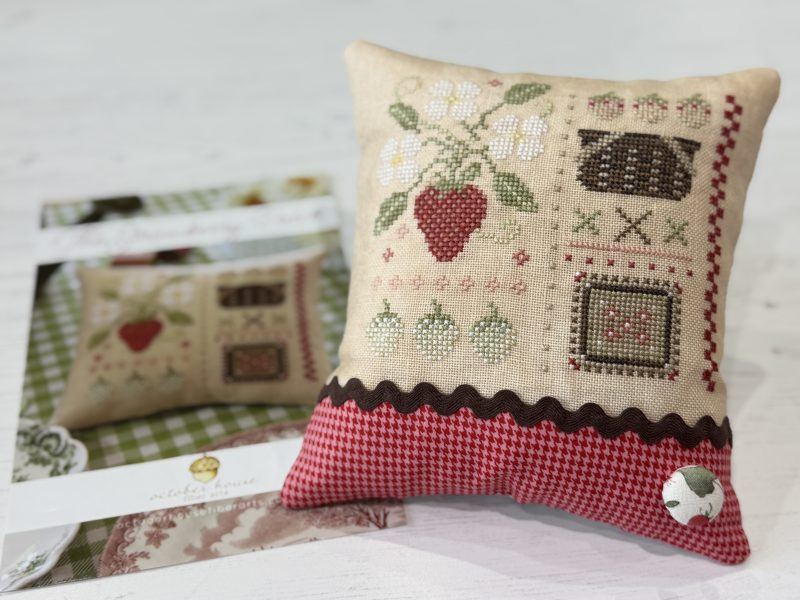
The easiest way to cut linen straight is to pull a couple of the warp/weft threads out of the fabric to mark a cutting line. Dead straight then in relation to the stitching and easy to see where to cut x
Damn! Never even thought of that lol! Right that is one to put in my book for future reference. Thanks so much Gina xx