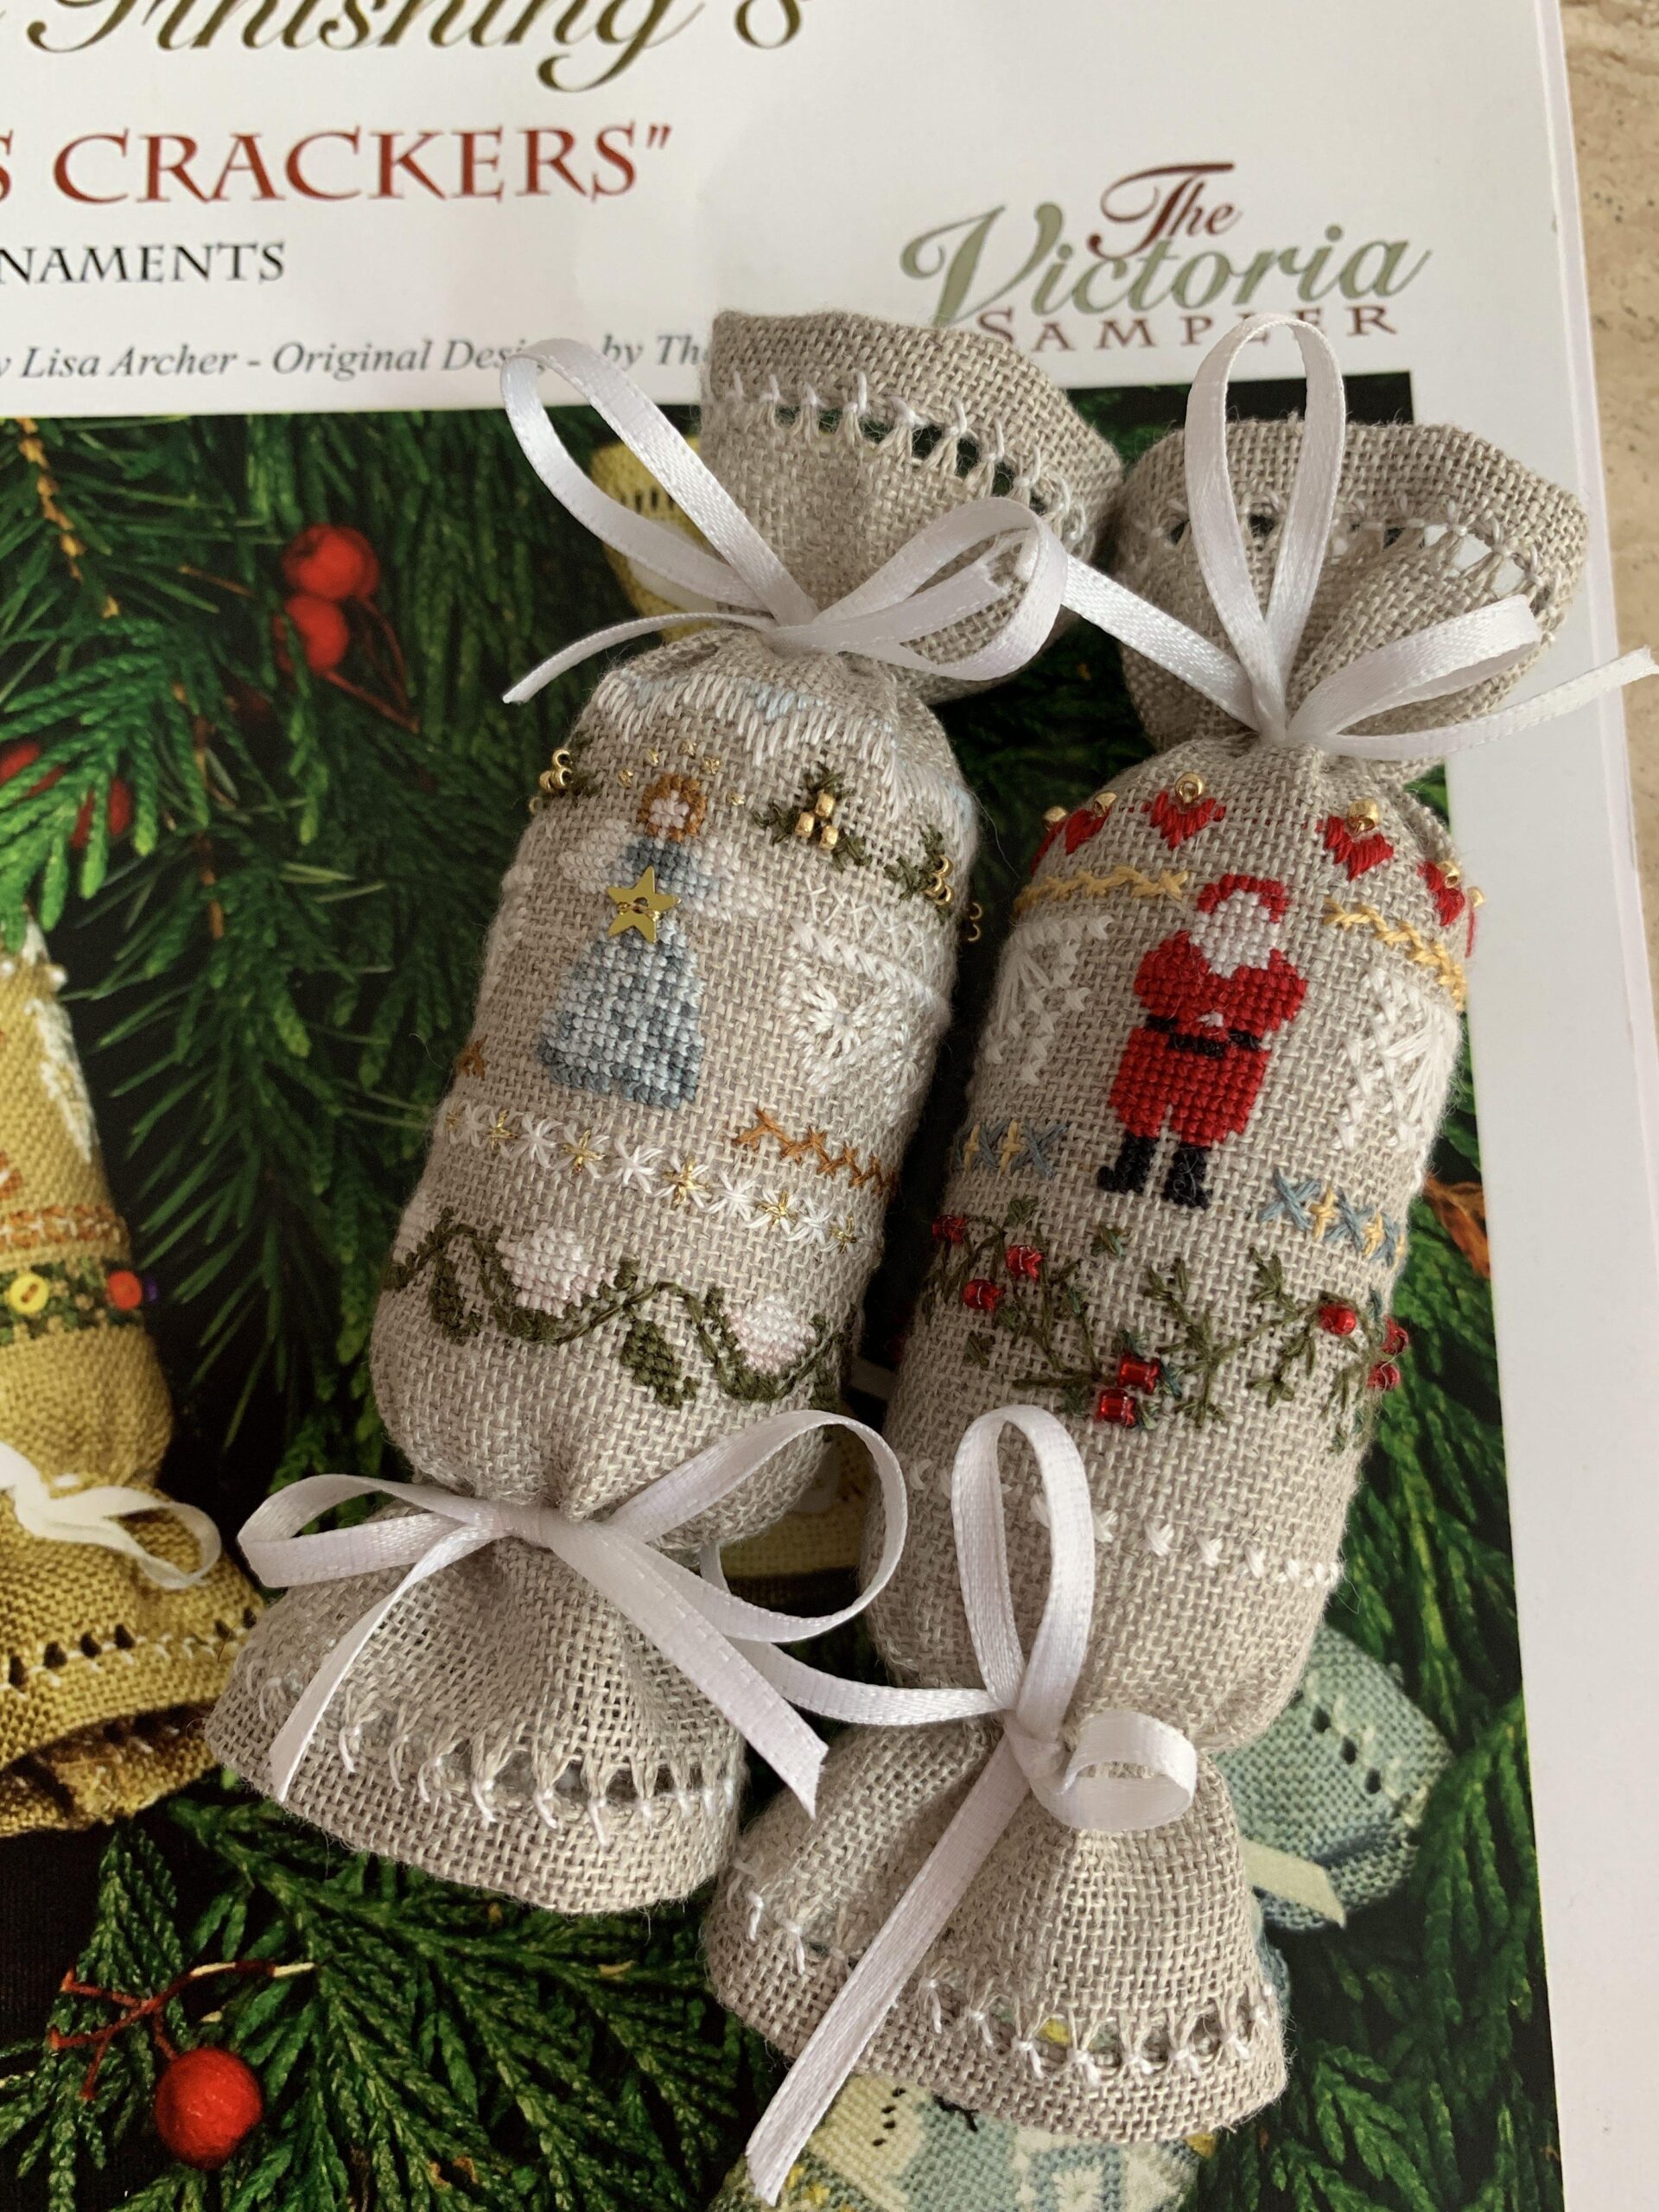
With all the beautiful berry designs available, it is no wonder I was so drawn to them.
When I purchased the Erica Michaels Mistletoe Kisses designs I couldn’t wait to get started. But they do come with limited instructions on how to put them all together and the finishing. So these are my instructions on how I constructed my berries. I couldn’t find a tutorial on how to do this on either the web or Flosstube and as I have limited experience at finishing ornaments I wanted to share how I did mine as a beginner. I am not a professional, but this just goes to prove that even a beginner can create these little beautiful berries.
Here I am sharing a step by step of how I completed mine and also there is a video here, if you would prefer to watch on Flosstube.
Things you’ll need:
- Stitched Piece
- Measuring tape
- Gridded Ruler
- Cutting Board
- Rotary Cutter
- Scissors
- Sewing Machine (Optional)
- Thread
- Needle
- Lightweight Fusible Interfacing
- Stuffing material or fiberfill
- Felt or wool (for the top)
- Wooden Snowflake (for the Top)
- Decoration Pins or flowers/bows
- Ribbon
Step 1: Create a template for your design
The template will need to be a fan shape so that you can create the cone shape. A way to do this would be to fold your stitched design in half and fold a piece of paper in half, the cone shape folded in half will need to cover one half of the design.

Make sure to only cut the open edge of the paper, leaving the folded edge to be the other half of the required shape. Create a nice rounded shape around the top of the template with enough margin to allow for your seam allowance and to add gathering stitch to the top for closing and still being able to see your stitching.


Step 2: Create the shape for interfacing and attach
Before cutting out the shape in the stitched material you will want to cut and iron on the fusible interface. Your Fusible interface needs to be approx 1/2″ smaller all the way around. My rather amateur way of achieving this was to fold a piece of the fusible interfacing in half and then using my paper template placing the folded edges on the same side and draw around the paper template. Cut the shape out so you should now have your paper template and the fusible interfacing the same shape. Now measure in 1/2 cm on the open edge and around the curved top and cut to the new measured lines on the interfacing.


Now place your fusible interfacing under your stitching with the shiny side facing your stitches and place your stitching in the desired place. Secure in place with a couple of pins. Now use your manufacturer’s instructions to iron on the fusible interfacing to your stitched piece.

Place interfacing and pin to secure 
Iron on the fusible interfacing
Step 3: Cut out your material
Now you should have your stitching attached to the fusible interfacing and you are ready to cut your stitching out into the shape required.
On the backside of the stitching, measure 1/2 cm all the way around your attached fusible interface and cut around your marks

Mark all the way around 
Cut along your markings 
I used scissors for the curve 

Step 4: Create the shape of the berry
Now we are ready to sew the two edges together to create your berry shape. I have a sewing machine, but you could also hand sew if you wanted to. Fold your pieces right sides facing each other and make sure your bottom point is nicely lined-up all the way along the seam line; now using a straight stitch sew along the line leaving a stitch or two away from the point at the bottom. This allows for turning and gives a nice point.

fold right sides together 
Line up the edge 
Sew along the straight edge – leaving a stitch or to free from the point
You should now have a nice little cone shape. Head back to your iron and iron your seams open and flat.
Now turn your cone the right side out. Be gentle with this step. If your struggling with the point, use a chop stip or a pen to gently push down at the pointed end to shape.

Turn rightside out 
Take time with tip 

Step 5: Stuffing the berry and closing
Time to stuff your berries. Using some strong cotton put a running stitch along around the top edge, just inside where the fusible interface is attached. Wherever you place the running stitch is where the top will gather and pull together. When you have gone all the way around, leave the needle and thread attached and start using your filler fiber to fill the berry. I like a firm berry so fill to your desired firmness. Gently pull on the thread every now and then to see how things are looking. When you are happy with the shape, secure the top by gently pulling the thread, gathering the top and place securing stitches in back and forth across the top to close the hole.

Running Stitch 
Stuffing 
Secure & Close 
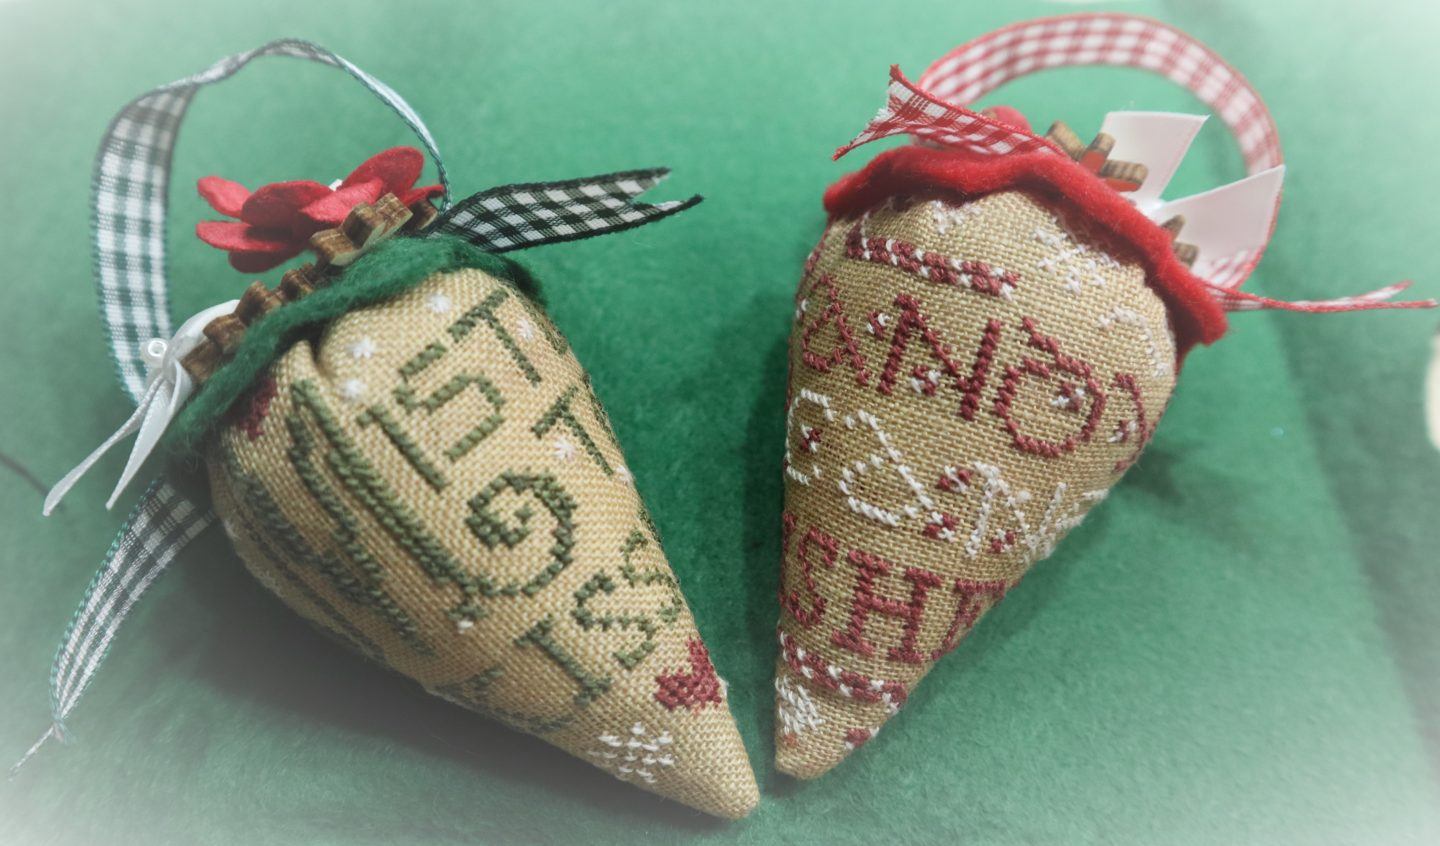
Ready for decorating
Step 6: Decorate your berry
You are now ready to decorate the top with anything and everything you like!
Here is how I finished mine
To finish my Christmas Berries I used some green and red felt. I cut out circles and tacked on the top of the berry. I used some gingham ribbon to create the hanger by creating the loop leaving tails on both sides, I tacked the loop to have the shape secure and then tacked to the top of the felt with a few stitches.


I added a wooden snowflake by putting a few stitches over the snowflake and tacked down to the felt, then added some flowers to hide the stitches over the snowflake


Given that the actual finishing materials didn’t turn up in time to have these Christmas gifts ready and I had to substitute the called for materials.
I don’t think they came out too bad all things considered and so much easier to put together than I thought they would be.

Happy stitching everyone!
Keep reading